This post is intended for those who are rolling their own smart home tech. Unfortunately, if you are using internet of things (IoT) devices built by consumer tech companies, you are partially limited in what you can lock down. Sadly a lot of consumer IoT devices are rolled out cheaply with poor security in place. Users of consumer tech can often still lock their devices down to a local network and then use a VPN to connect to the house. This can be accomplished by many consumer-grade routers or standalone firewalls and has huge security benefits as the internet at large then doesn’t have the ability to easily connect to your devices. However, that’s not the focus of this post! Onward.
If you are building your own smart home tech, you have a chance to make the system secure from the get go. I’ve prepared a list of tips for securing your setup and included examples from Crouch House to illustrate the ideas.
Before I get to the list of tips, here is a diagram that maps out the network setup for Crouch House. I’ll dive into the details of the chart later on in the tips.

Tip #1: Apply Updates!
This first one is pretty straightforward, but is often hard to actually put into practice: Update your software to patch security vulnerabilities! In a home spun IoT setup, you often have lots of moving parts working together.
In Crouch House, I have servers, devices, and computers running Ubuntu 16.04, Raspbian, Mac OS, Windows 10, iOS 11, iOS 7, and proprietary device and router firmware. In addition to that, the servers have many different software packages running alongside each other. Hopefully, each of these receives security updates from the OS or software developers when they need to be applied (sometimes software is end-of-life’d and you need to hope the last version released had no vulnerabilities!). In order to keep our home system running securely, I set a calendar reminder to check for updates monthly and also keep my ear to the ground for large security vulnerabilities that affect my software stack. Sites like ArsTechnica and Slashdot are great resources to stay on top of vulnerabilities; they do a good job of pointing out serious flaws in software that affects lots of users.
Tip #2: Change Default Passwords!
This second tip is straightforward and easy to put into practice: Change the default passwords that ship with your devices! A consumer-grade router might come with a default admin user name of ‘admin’ and password of ‘password’. Stock Raspberry Pi installs often have an SSH sudo user with the username ‘pi’ and password ‘raspberry’. Hackers know this. If they somehow gain access to your local network, they can wreak havoc. So, when you get a new device, make sure to change the username and password to something new that only you know!
Tip #3: Use VPN To Connect To Your House From Afar! If You Want To Show It Off, Make A Separate Public Version!
Those first two tips were pretty stock “secure your stuff”. Tip 3 is something I’ve found out the hard way: Create a separate public version of your app if you want people to see it, and use VPN to connect to the version that actually controls your house!
When I first created Crouch House, I only made one version of the app and had that render to https://www.crouchhouse.com. As soon as I did that, I started to have increased attention from hackers. I saw many more port sniffing attempts on servers related to the project and generally a lot more public traffic pinging this service that was intended mostly to just serve my family in my house.
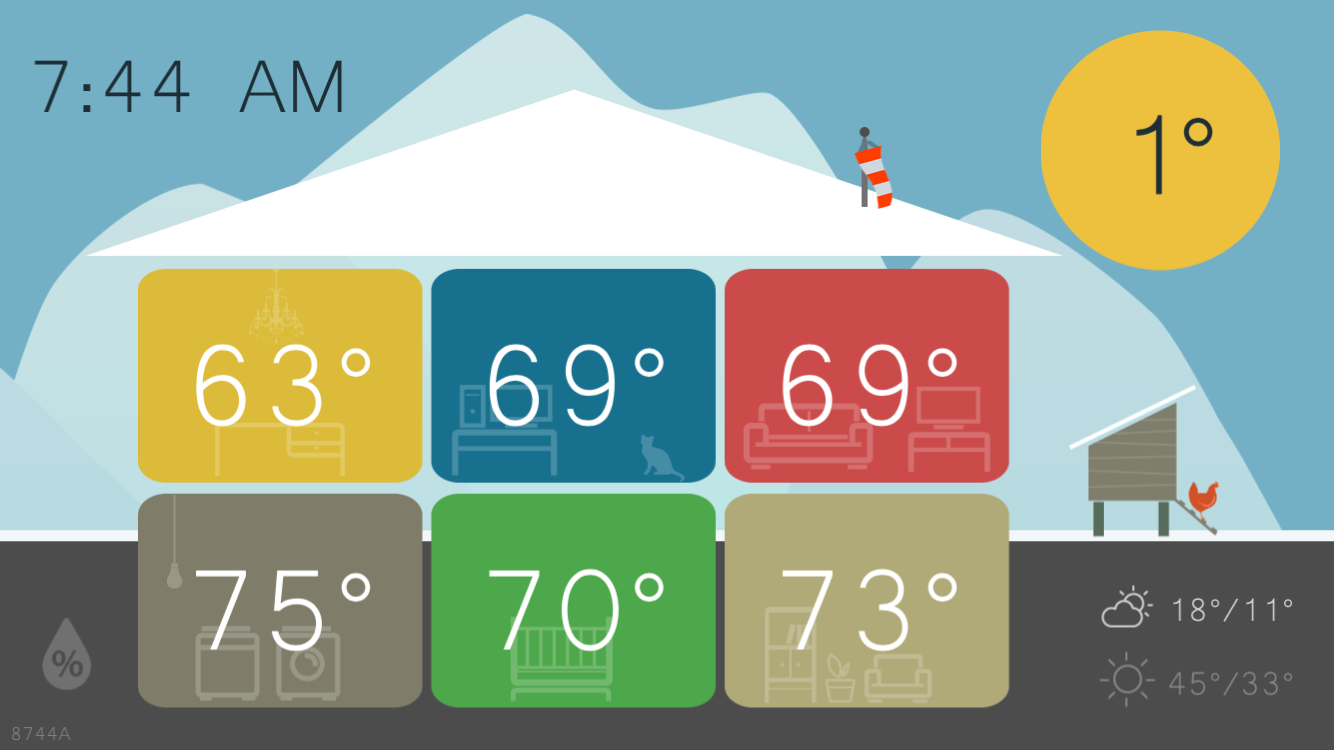
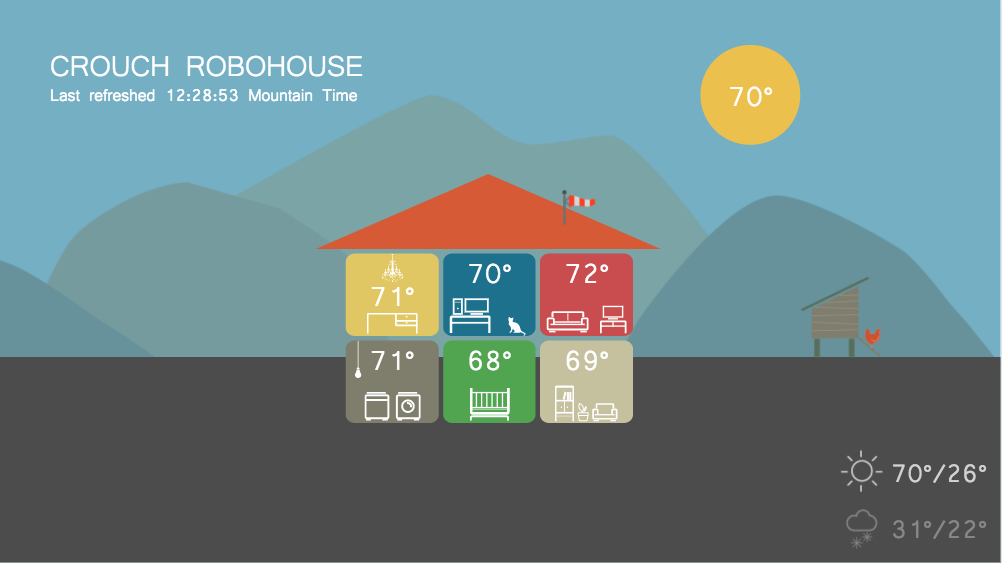
So, the real meat of Crouch House is only accessible locally on our home WiFi network, or through a VPN when accessing the house from afar. This gives me great peace of mind, because a hacker would need to get on the VPN or join my local network to really mess with things. A VPN connection can be built into mobile apps so a secure tunnel is automatically created – it doesn’t have to be cumbersome. The public version of the app available online only reports temperature and lacks the admin API to make any device changes or trigger events.
Additionally, the IoT devices on our home network are behind a firewall and not open to the internet at large. This means IoT devices can’t talk to the internet themselves; they get proxied through other local services to reach the internet.
I’ll touch more on the home/public split in Tips 4 and 5.
Tip 4: Only Send The Data You Need To Remote Locations!
Crouch House stores a lot of data in databases: temperatures, relative humidity values, light values, web cam streams, utility bill amounts, device states, etc. There are two databases in the Crouch House setup: a local one supporting the home network, and a remote one supporting the public website. The local database stores all of the data, but can only be accessed from the local network or through the home VPN. The public database only stores temperatures – that’s all the public site displays! Because the public database doesn’t have the other data in it, that other data won’t be exposed if the public database is hacked.
Tip 5: Similarly, Don’t Deploy Sensitive Application Code To The Public Version Of Your Application!
Along the same lines as Tip 4, I suggest you don’t put application code on the public version of your setup that you only need for local actions. In Crouch House, I don’t deploy the Crouch House API methods and a lot of the JavaScript code to the public version of the website; that code wouldn’t be used on the public website and it would only allow hackers to know more about the system if they discovered it.
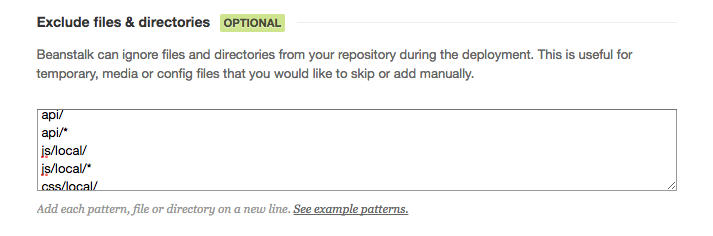
Crouch House is tracked in git code versioning hosted with BeanstalkApp. To accomplish having two versions of the code, one full and one stripped down, I use the handy-dandy “exclude” feature in Beanstalk App’s deployment functionality. It allows me to flag certain folders or files to not deploy to certain environments.
Tip #6: Set Up A Guest WiFi Subnet And Check IP addresses!
In Tip 3 I talked about making the smart home services safe from the public by limiting most functionality to a local network. Taking that a step farther, I suggest you setup two WiFi subnets on your local network and assign them different IP address ranges. Many consumer-grade routers support this behavior by default, so it’s easy to set up. The benefit of doing this is that you can use an IP address range (e.g., 192.168.1.x) as a first validation value in your application. Is it in that range? Great! It’s not? Redirect them to the public version of the app. Better yet, if you can give your privileged devices static IP addresses or check MAC addresses, that is even more fine-grained.
I suggest setting up a guest subnet so visitors to your house can still have a WiFi internet connection! I don’t like to be stingy with my home internet and will give out our guest WiFi password to friends or houseguests who visit… but I don’t necessarily want them changing my thermostat!
Tip #7: Don’t Rely On Network Security Alone – Require User Authentication!
This next tip adds complexity to your app, but also adds another hurdle for hackers: Yes, restrict smart home control by IP address range, but also require user authentication.
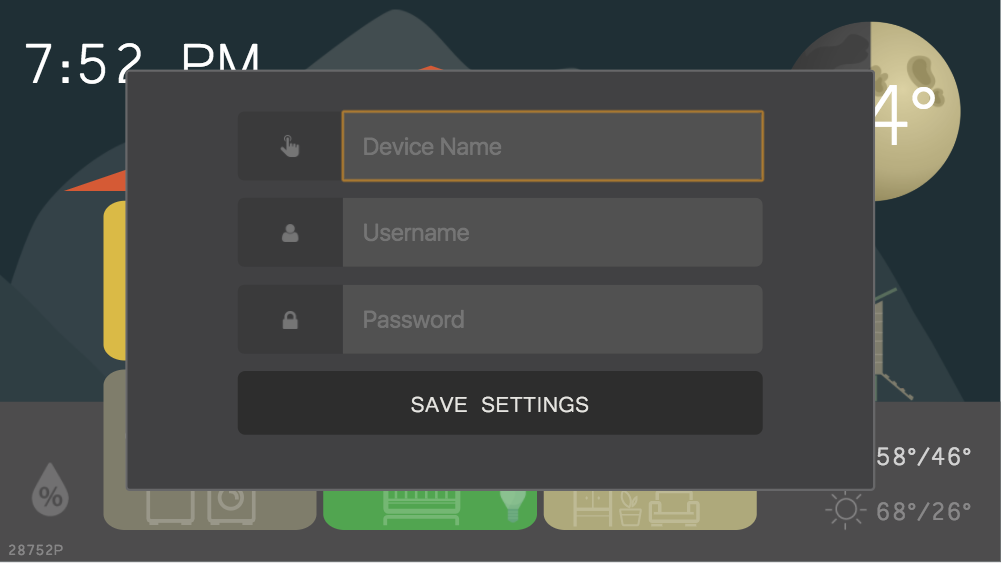
In Crouch House, devices on the privileged WiFi network can browse Crouch House in a read-only manner, but need to log into the Crouch House API using a username and password to actually change settings or trigger an event.
Tip # 8: Use SSL For Everything!
This last tip is something I wouldn’t necessarily have suggested in 2013 when I started Crouch House: Use SSL/TLS/HTTPS for everything! In 2017, generating free SSL certificates is easy using Let’s Encrypt – no excuses! If you run a local DNS server (e.g., dnsmasq), you can assign local domain names to different devices in your home network. Then, you can create SSL certificates using Let’s Encrypt for each of those endpoints. Voila! All your web traffic is encrypted.
Summary
If you follow the tips above, your home rolled smart house will be pretty secure. If, somehow, a hacker gets on your privileged local network, they won’t be able to easily guess your device password, sniff your unencrypted traffic, or exploit unpatched vulnerabilities!
Let me know about your similar projects in the comments below!